A Traditional Blue Breakfast Nook
- Jennifer Laura

- Feb 15, 2021
- 3 min read
Updated: Oct 5, 2021
We are making slow, but sure progress towards our budget friendly kitchen makeover! My focus last week was on the breakfast nook and it's done!

Sources: Paint Color- Farrow & Ball Parma Gray | Chairs (similar) | Table (similar) | chandelier | ceiling medallion | window shade fabric
Just to quickly remind you how far it's come, here is the before!

I'm 97% happy with it, but there are still a few things I want to change *cough* roman shades *cough cough*, but let me tell you what all we've done to get up to this point!
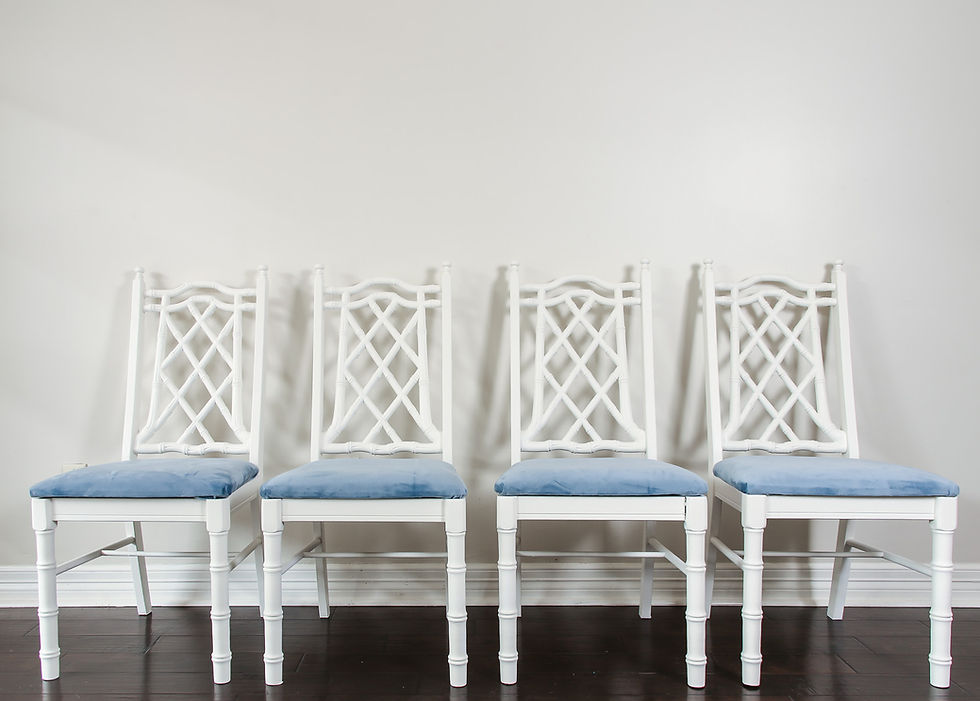
The first thing I did in this space was reupholster these dining chairs I found at an antique store over Christmas.


Then we painted the walls Parma Gray and hung this cute brass chandelier, you can read all about that in this update post I wrote here.

Then this week it was time for all the finishing touches- we found this table on Facebook Marketplace and gave it a makeover.

All it took was a quick sanding, priming, and painting (we used Behr's Swiss Coffee) and this table is so lovely now and pairs so beautifully with the bamboo style Chippendale chairs!

My mom also had the idea to add a ceiling medallion to this space which I think adds such a lovely architectural detail. We bought this 27" paintable ceiling medallion and gave it two coats of paint (we used a flat paint color matched to our ceiling). The final element in this room are the faux roman shades I made. If you've been following along on Instagram you know I belabored over the fabric decision here and I did go the cheap route and selected this printed fabric from Zazzle (on the right) over this luxury Schumacher fabric (which I deeply love on the left).

Turns out I'm SO glad I did! Not because I love how the roman shades turned out, quite the opposite actually, they are the only element in this room that I'm not happy with... but I think I would be sick to my stomach if I had spent $600 for the Schumacher fabric to not be happy with my DIY roman shades.

The roman shades didn't turn out terrible, but making them was not the easy/simple DIY I was expecting and the result isn't dazzling me (I won't be writing up a tutorial on these as I originally planned). They failed for several reasons- I didn't purchase enough fabric, I didn't line them, and ultimately I think I just want real roman shades... that function. We have our blinds pulled up and hiding under these so we do still have fully functioning window treatments, but if we need to close them they obviously don't look great. Sometimes the cheap solution is not always the best and I'm willing to own this one. I know custom roman shades for these windows aren't going to be cheap...so we may deal with these for awhile longer. Let me know what you think and if you know someone who made a faux roman shade that was actually happy with it long term I would love to hear from them. I do still think it's an improvement from where we came from!

Other things that happened in this room- we removed the giant 80's intercom that was plaguing the wall to the left side of the breakfast nook.

We brought in a professional to patch the wall and then I added a little gallery wall. Do you spy our security system? I almost want to make a frame for it- ha!


This photo has me itching to get to work on our countertops! That project is coming up soon, but I'm kind of dreading it because I know it will be a long process and put our kitchen totally out of commission for about 2 weeks! It will be so worth it though, we're planning to use this product to completely transform them!

Sources: Paint Color- Farrow & Ball Parma Gray | Chairs (similar) | Table (similar) | chandelier | ceiling medallion | window shade fabric
Let me know what you think and I can't wait to get the rest of the kitchen up to par with the breakfast nook now!
Psst. since finishing the kitchen I decided to make some updates in the breakfast nook, you can check those out right here!
Want to see every part of the kitchen makeover process?


Comments